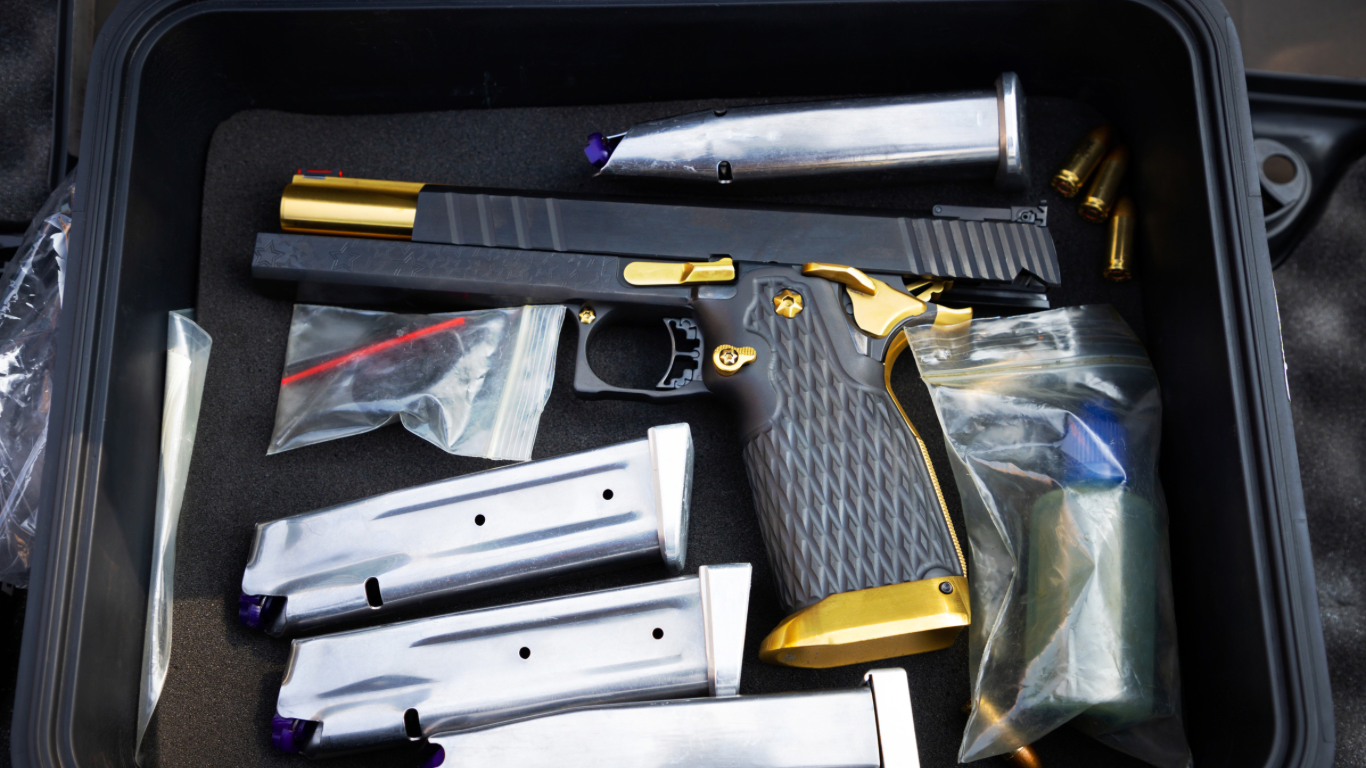
You are ready for that fishing trip or afternoon of relaxation on the water. You have your boat fully prepared with life jackets, food, and coffee. Your rifle is an important part of this equation, but you lack a secure place to keep it on the boat. In this case, a jon boat gun box is an ideal solution for keeping your firearms safe and secure while on the water.
Keep the Following in Mind When Getting Ready
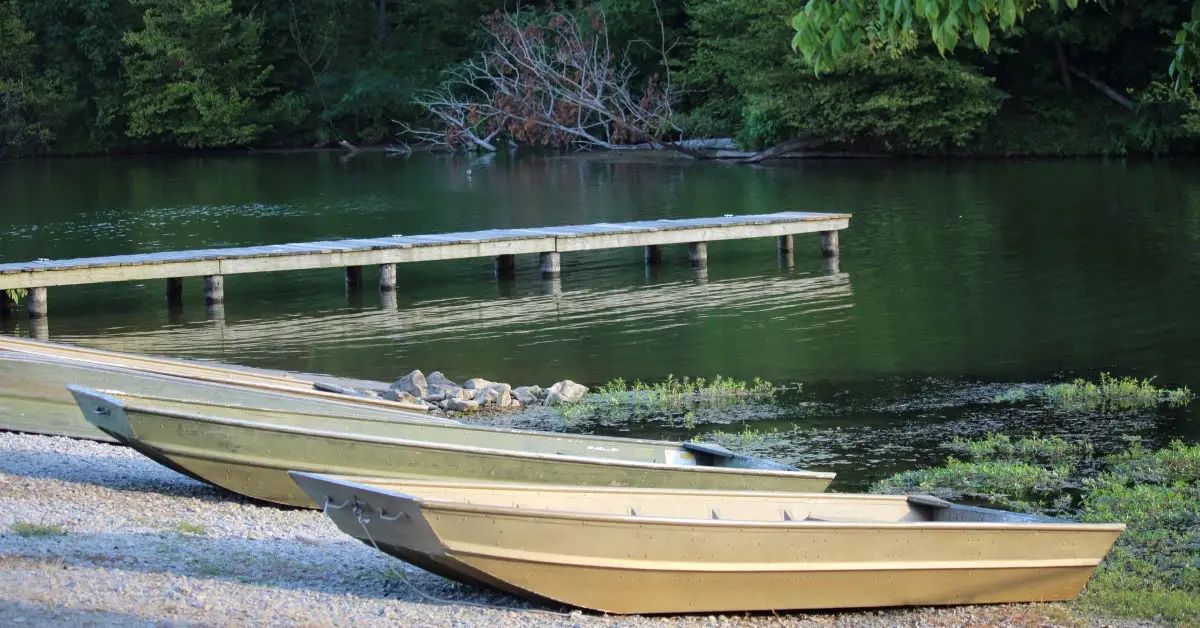
- Most jon boats have open decks so some sort of cover is necessary to conceal your boat gun box from view.
- A jon boat’s storage compartments make great spots for a hidden boat-gun box.
- Your boat gun box should be made from a material that doesn’t corrode or rust because wet conditions will decrease the life span of your firearm.
- Use the existing angles, storage compartments, and sides of your jon boat to construct a box that works for you.
Here’s A Pro Tip For Waterfowl Hunters:
Ideally, a jon-boat gun box is completely waterproof, so it will keep your guns dry even if the bottom of your boat floods. Keep care in building a box that is off the bottom of boat if possible.
Before you proceed to make a boat gun box, you need a jon boat prepped for fishing. It means life jackets, anchor, and all other equipment must be onboard and ready. Now that your jon boat is ready it’s time to think about constructing the boat gun box. This should be an straightforward process if followed correctly.
Option 1 Build Procedure: Rifle Barrel Holder Style
Following these steps, you can build a jon-boat gun box in a few hours using tools you probably already have at home. This depends on your skill level and complexity of the build.
Of note, this is one of the more complex options to follow.
Materials
- 2 pieces of 3/4 inch plywood cut to fit the front and back of your jon boat. Measurements do not need to be exact if it fits.
- 1 piece of 3/4 inch plywood cut in the same dimensions as above for the top and bottom of your gun box. Again, measurements do not need to be exact.
- For holes in wood screws, drilling will be appropriate.
- Drill bit for pilot holes on hinges (for those who opt to use them)
- Saw or Jigsaw – something that can cut through wood easily. We recommend a hand saw or jigsaw over an electric saw as it is easier to hold the pieces steady.
Phase One
Begin by cutting out three pieces of plywood using measurements above for the front, side and top or bottom of your box. In this case, use only one piece of plywood for the front, back and bottom. Two pieces is fine as well if you want more reinforcement on your gun box.
Phase Two
Once all measurements are done it’s time to cut out your holes where you will place your rifle barrel through. You can measure using any method that seems best for you but there is a simpler approach. First, place the jon-boat gun box in its final resting spot on your jon boat (front-most area). Lay down underneath the jon boat gun box where you plan to insert your rifle barrel. If you are having problems finding a suitable location, check with an oar or paddle-like object until you find a convenient location.
Phase Three
Mark the location of your jon-boat gun box on the ground. Now, measure the distance from the bottom of where you plan to place your jon boat gun box (approximately 4 inches). Mark this measurement on the top front corner of your jon boat. Using a hand saw or jigsaw cut out your rifle barrel hole on the front-most piece of plywood (front) first. Then cut out on either side if you plan to have more than one rifle in your jon -boat gun box. If not, don’t worry about cutting extra holes on either side or both sides. The end goal is to have a hole large enough for your rifle barrel. Measure the appropriate size you need for your boat gun box and then cut with that in mind.
You may use this measurement as a guide:
- Smaller sized plywood for small to medium caliber weapons (Remington 1100, Beretta 390).
- Larger than expected plywood measurements for shotguns or larger caliber rifles/pistols (Remington 870, Smith & Wesson 460XVR)
Phase Four
Once all holes are cut, it’s time to attach the top and bottom pieces of plywood. This is done by simply screwing both pieces together with wood screws through the jon boat gun box plywood and into the plywood it’s being attached to. Again, this is done under the jon boat gun box. Once you secure both pieces of plywood (top and bottom) place your box back on top of them. Proceed to screw through its front, side, and bottom piece(s) of plywood into each other with wood screws.
You will want at least three or four screws per attach point to join two plywood pieces together (front to side, side to bottom). The more secure your jon boat gun box is bolted together means a safer storage for your rifle. At that point it’s up to the ruggedness of your jon boat to take care of the rest.
Option 2 Build Procedure: Full Box With Hinge Style
An easier approach would be making a boat gun box using a 1/4-inch plywood. The plywood should be enough to cover the floor of the storage compartment.
The Build Process
- Take measurements of the storage compartment and buy plywood that will fit all four sides (floor to ceiling) of the compartment.
- Cut out squares for each side (floor to ceiling) using a handsaw. It’s best to make each square 1/2 inch larger than the previous square on all four sides so it will be easier to connect them.
- Screw three squares together along the edges using wood screws, then screw another square into place using 3-inch nails like these ones. The purpose of overlapping two pieces is to create an L shape with a flat back to support the weight of the gun box.
- Use wood glue to fasten another square onto this side, and then screw it in place using 3-inch nails like these ones.
- Now that one side is complete, you can flip it upside down and secure it with wood glue before screwing it in place using 3-inch nails.
- Repeat steps 1 through 5 for each side (floor to ceiling) until you have four identical sides. You’ll also need two more pieces; one 12-inch square and one 14-inch square.
- Connect the four sides to create the gun box, then glue it with wood glue before screwing it into place using 3-inch nails like these ones.
- Now that it is complete, all you must do is add a swinging door on hinges. The locking mechanism must be watertight for your box to remain waterproof when closed.
It’s a simple process with a great result. With this you can build a boat gun box for yourself or others. There are tons of jon boat gun box designs out there, but this is the simplest way to build one. It only takes two hours and less than $20 for materials.
A World of Build Options
There are varying options for creating your box. For a visual example of what a box could look like, here is video of a DIY jon boat gun box using metal and wood. As you can see, there are a more than few options for your box. If you don’t want to build a jon boat gun box, you could also purchase one from a company like Gator Trax.
Conclusion
Hopefully this guide gives you inspiration to build a DIY jon boat gun box. Option 2 seems more commonplace, but evaluate the dimensions/angles and existing storage of your boat to determine which fits best for you.